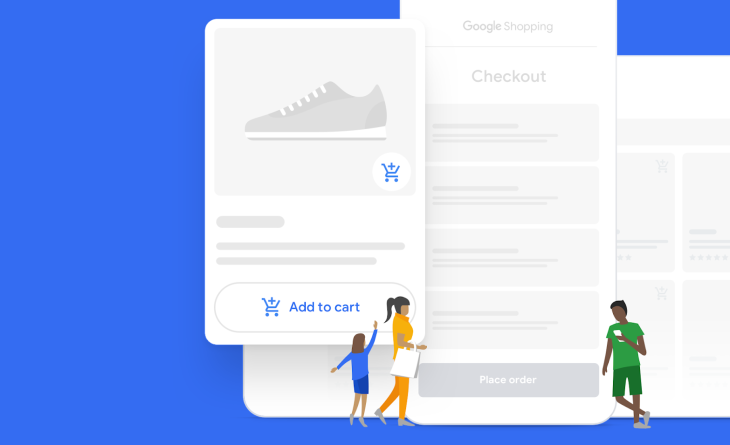
Google Shopping is the service that Google offers that helps consumers to explore , compare and buy products offered by various retailers. Both of the listings can appear within the Google Shopping tab
When it had been first launched in 2002, Google Shopping indexed product data supported relevant search terms. In 2012, Google Shopping was made a paid advertising model by Google where users had to pay to Google to show their products featured in Google Shopping’s search results, effectively adding Google shopping to the Google Ads.
Google Shopping allows the retailers and merchants to showcase their products on the google search page but, unlike google search ads that only show up when you search for some keywords that you are interested in, Google shopping displays the ads which users upload like image, description, link of the website etc.
Why use Google Shopping?
Since Google Shopping listings give consumers all the knowledge they have at a look , and results can appear at the highest of the SERP, they’re very likely to be seen by customers who have a high chance of completing a sale .

Steps to start selling through Google Shopping
Let’s understand how to get your online store’s products listed on Google Shopping:
- Set up a Google Merchant Center account
- Have great product images
- Gather and create your product data feed
- Link your Google Ads account
- Create a Google Shopping campaign
- Place bids on your Google Shopping campaign
- Determine targeting and schedule your Shopping campaign
- Create your ad groups
1. Create a Google Merchant Center account
First thing’s first, to get products listed on Google Shopping, you would like to register for a Google Merchant Center account. This is often the command center where you’ll manage products, product information and Google Shopping campaigns through Google Ads.
2. Have great product images
Google Shopping pulls featured images from your online store and, due to that, it’s more important than ever to make sure the merchandise images on your website are ready for showtime.
Images are an enormous part of what makes someone click and buy a product. Google knows this and, to assure shoppers have the simplest experience on their platform, will actually reject Google Shopping campaigns if the pictures are too low-quality.
To assure that your images make the cut, we propose following Google’s image guidelines:
- Use clear, even lighting
- Use light-colored background
- Clearly show the merchandise being sold
- Show products at the right scale (not too big or small)
- Avoid pixelation, fading or blurriness
These best-practices ring true for online commerce generally , but taking great product shots for your online store doesn’t need to stop there. In our post on eCommerce product photography, we explore inexpensive and accessible ways to enhance your online store’s product images.
3. Gather and create your product data feed
Next to great product images, you furthermore may get to input your product data feed. Product feed is a file or text which tells Google regarding your products, title, description, price and availability.
This information is important, with the help of it, Google can display your product to people that look for anything associated with it. Their goal is to match the products showed a user’s search intent, and therefore the product feed is a component of how they are doing it.
To set up your product feed, you would like to visit your Google Merchant Center account, click on Products > Feeds then click the blue “+” icon.
The first thing you’re prompted to try to do is enter your country and language. This may determine who sees your products, therefore it’s important to do .
Afterwards, give your product feed a name and choose how you’ll input your product information: using Google Sheets, a scheduled fetch, upload or content API.
If you decide on Google Sheets, you’ll choose between uploading your own spreadsheet or using Google Merchant Center’s template. This feature also allows you to set an upload schedule for updating inventory.

The spreadsheet you upload helps Google index and display your products, so it’s important that it includes the info needed to make Google Shopping ads:
ID: Your product’s unique identifier. If you’ll be able to, use its SKU number.
Title: A title can be a name of the product. To boost your title, consider adding other elements someone may look for , like its color, size and elegance .
Description: Describe your product. Only include information about the merchandise and assure that it matches the product’s description on your website.
Link: The URL of the product on the website.
Image_link: The URL of the image on the website.
Availability: Your product’s availability i.e. its in stock or out of stock
Price: the worth of your product, listed within the currency of the country where your product is sold.
Google_product_category: this is often the Google-defined product category. Use only the foremost relevant category.
Brand: Your product’s name .
That’s not all the info you’ll need, though, you can get full info about this on data feed specification in google help.
4. Link to your Google Ads account
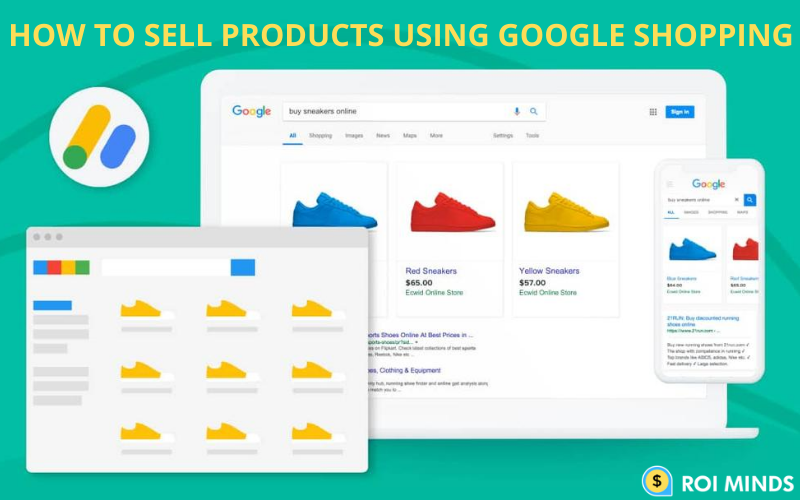
When you look for a product using Google Search, in the Google Shopping results on the top of the page are literally paid ads (you can tell from the Sponsored tag to the right of the Shopping results).
To boost your product listings and have them featured therein coveted spot at the highest of Google’s search results page, you’ll get to link your Google Merchant Center account to your Google Ads account.
If you don’t want to pay to advertise your product listings, you don’t need to , but doing so will increase their visibility with customers looking to get that product.
5. Create a Google Shopping campaign
After you’ve linked your Google Ads account, you’re able to create Google Shopping campaigns and advertise your products.
Through your Google Merchant Center account, you’ll simply click Create Shopping Campaign, insert your campaign name, country of sale and your budget. Once you click Create, you’ll get prompted to manage the campaign through Google Ads.
Whenever creating a Google Ads campaign, you would like to settle on the proper campaign goal. For Shopping campaigns, you’ll choose either Sales, Leads or Website traffic as a goal. Google uses the campaign’s goal to tailor your campaign with its objective, so it’s important that you simply select the proper goal from the get-go.
Sales campaigns: This can be used to drive more sales online or in-store.
Leads campaigns: meant to gather leads by guiding shoppers to completing an outlined action.
Website traffic campaigns: meant to bring people that have an interest in what you sell to your website.
Once you select your campaign’s goal, you would like to line the campaign type as Shopping. Assure that your Google Merchant Center account is displayed which your country of sale is accurate.

6. Place bids on your Google Shopping campaign
Once you proceed, the subsequent screen shows your campaign settings. From here, you would like to enter your campaign’s name, select your bidding strategy and set your campaign budget.
Bidding is actually you telling Google the quantity you’re willing to buy a conversion or cost per action (CPA).
From this screen, you’ll also get to set your campaign budget, which is the amount of cash you would like to spend on the average per day. But be aware: the quantity you spend isn’t capped per day. Rather, Google manages the budget monthly. Per month, you’ll never spend quite your daily budget multiplied by the amount of days in monthly .
From here you’ll also select a delivery method for your budget: Standard will spend your budget evenly over the chosen timeframe, while accelerated will spend your budget quicker.
7. Determine targeting and schedule your shopping campaign
The last step to fixing your Google Shopping campaign is selecting, targeting and scheduling your campaign. This step will determine who sees ads for your products and once they see them.
Under Locations, select locations where you’ll ship orders to. Assure that you’re ready to fulfill orders for the areas you decide on .
Next, set the beginning and end dates for your campaign. This is often the timeframe where your Shopping ads will get seen by people checking out that item or something similar.
8. Create your ad groups
Once you’ve finished setting your Shopping campaign settings, it’s time to create ad groups.
There are two sorts of ad groups to settle on from: Product Shopping ads and Showcase Shopping ads. While Product Shopping ads are great for promoting one product, Showcase Shopping ads allow you to advertise multiple products.

Once you decide on your ad group and click on Save, your Google Shopping campaign is submitted and your products are going to be displayed in search results relevant to the products you’re advertising.
Conclusion
By providing relevant product info, Google Shopping Ads assist you increase the standard of your leads. Shoppers are looking to form an informed purchasing decision, and through visually revealing, informative ads, users land on your landing page with a high intent to purchase.


