
First, let’s start with the setup of Google Tag Manager. We are going to let you through everything required to set up GTM. By which it will be really easy for you to set up your own.
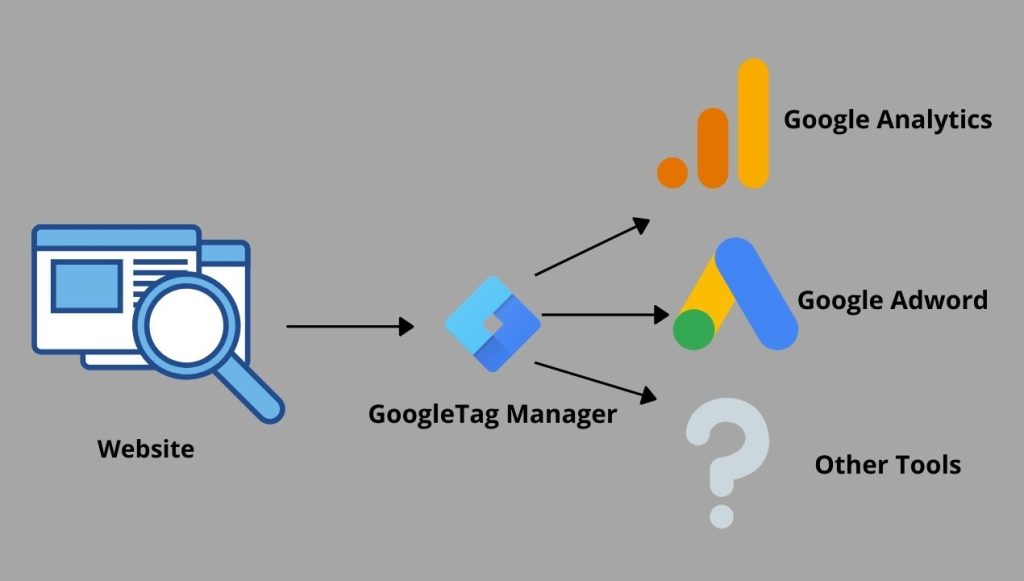
You can use Google Tag Manager to deploy tags, including Google Ads & Google Analytics, Facebook, or any 3rd-party tool. There are many other methods to track your events & conversions, but if you are an enthusiast who wants to go deep, then GTM is for you.
At a high level, the steps are:
1) Go to GTM’s official website https://tagmanager.google.com/#/home
2) Create a new account and container, or add a container to an existing account.
3) Install the container on your website or mobile app.
- For web and AMP pages: Add the container snippet as instructed by Tag Manager, and remove any existing tags.
- For mobile apps: Use the Firebase SDK for Android or iOS.
See here for In-depth details on how to set up your Google Tag Manager.
Setup Scroll Depth Trigger
Scroll depth trigger is an easy way to know how your users interact with your content. By this, you can get an idea of the Bounce rate on your website and what changes should be made to keep your audience engaged for more time.
In general, you can devise a strategy to keep your audience engaged for a larger period & and, in turn, can convert them as potential customers.
Let’s start with the steps to install scroll depth trigger in GTM:
Measure scroll events in Google Tag Manager
The scroll depth trigger is used to fire tags based on how far a user has scrolled down a web page. To configure a scroll depth trigger:
- Click on Triggers > Go to New.
- Then, Click Trigger Configuration & choose the Scroll Depth trigger type.
- Then, Select scroll depth options.
- At last, Select when the trigger should be enabled.
What Scroll depth options do we have
There are several options to choose the desired Scroll Depth options from:
- First is Vertical Scroll Depths fire based on how down a user has scrolled the page.
- The second is Horizontal Scroll Depths fire based on how far a user has scrolled the page to the right.
Both vertical and horizontal scroll depth values may be used in the same trigger. Set scroll depths as either Percentage of the page height and width or as Pixels. Enter one or more positive integers separated by commas, representing percentage or pixel values.
For example, we can select Percentages and enter 10, 50, 90 to set trigger points at 10%, 50%, and 90% of the page height. When this trigger is applied to a tag, and a user scrolls 90% of the way towards the bottom of the page, the tag will fire three times: Once at 10%, once at 50%, and once at 90%.
Our trigger will only fire once per threshold per page. If the user scrolls back up, the trigger will not fire again unless the page reloads or the user navigates to a new page that uses the same trigger.
When a scroll depth trigger fires, the following variables are automatically populated:
- Scroll Depth Threshold: A numeric value indicating the scroll depth caused the trigger to fire. This will be a numeric value (0-100). This will be a numeric value representing the number of pixels specified as the threshold for pixels. Note that if you set the variable to 0, it will show as (not set) in reports.
- Scroll Depth Units: Either ‘pixels’ or ‘percent,’ indicating the unit specified for the threshold that caused the trigger to fire.
- Scroll Direction: Either ‘vertical’ or ‘horizontal,’ indicating the direction of the threshold that caused the trigger to fire.
Select when the trigger should be enabled
The “Enable this trigger on” menu specifies when this trigger should start to listen for relevant interactions.
- Container Load (gtm.js): Enable as soon as possible after the page begins to load.
- DOM Ready (gtm. dom): Enable after the DOM is ready to be parsed.
- Window Load (gtm. load) (default): Enable after all initial content on the page has loaded.


